
Our straightforward care instructions help prevent unintentional damage and minimize wear and tear. If you notice any erosion or damage to the finish of your product, simply follow the care instructions below for effective restoration.
— REGULAR MAINTAINENCE
When caring for wood furniture, preventive measures are the best way to avoid lasting damage. Follow these care instructions to ensure that your bespoke piece stays in its best condition.
STEP 1: USE PLACEMATS, COASTERS, AND TABLE MATS
Water can easily cause extensive damage to wood. Be sure to use coverings on your furniture to prevent staining from water, food, or oil.

STEP 2: AVOID DIRECT SUNLIGHT
Extended exposure to sunlight in the same area will gradually bleach the finish on wood furniture. Make sure that your piece does not remain in consistent light for an extended period of time. Once wood furniture is bleached, the only way to restore it is by completely refinishing it.

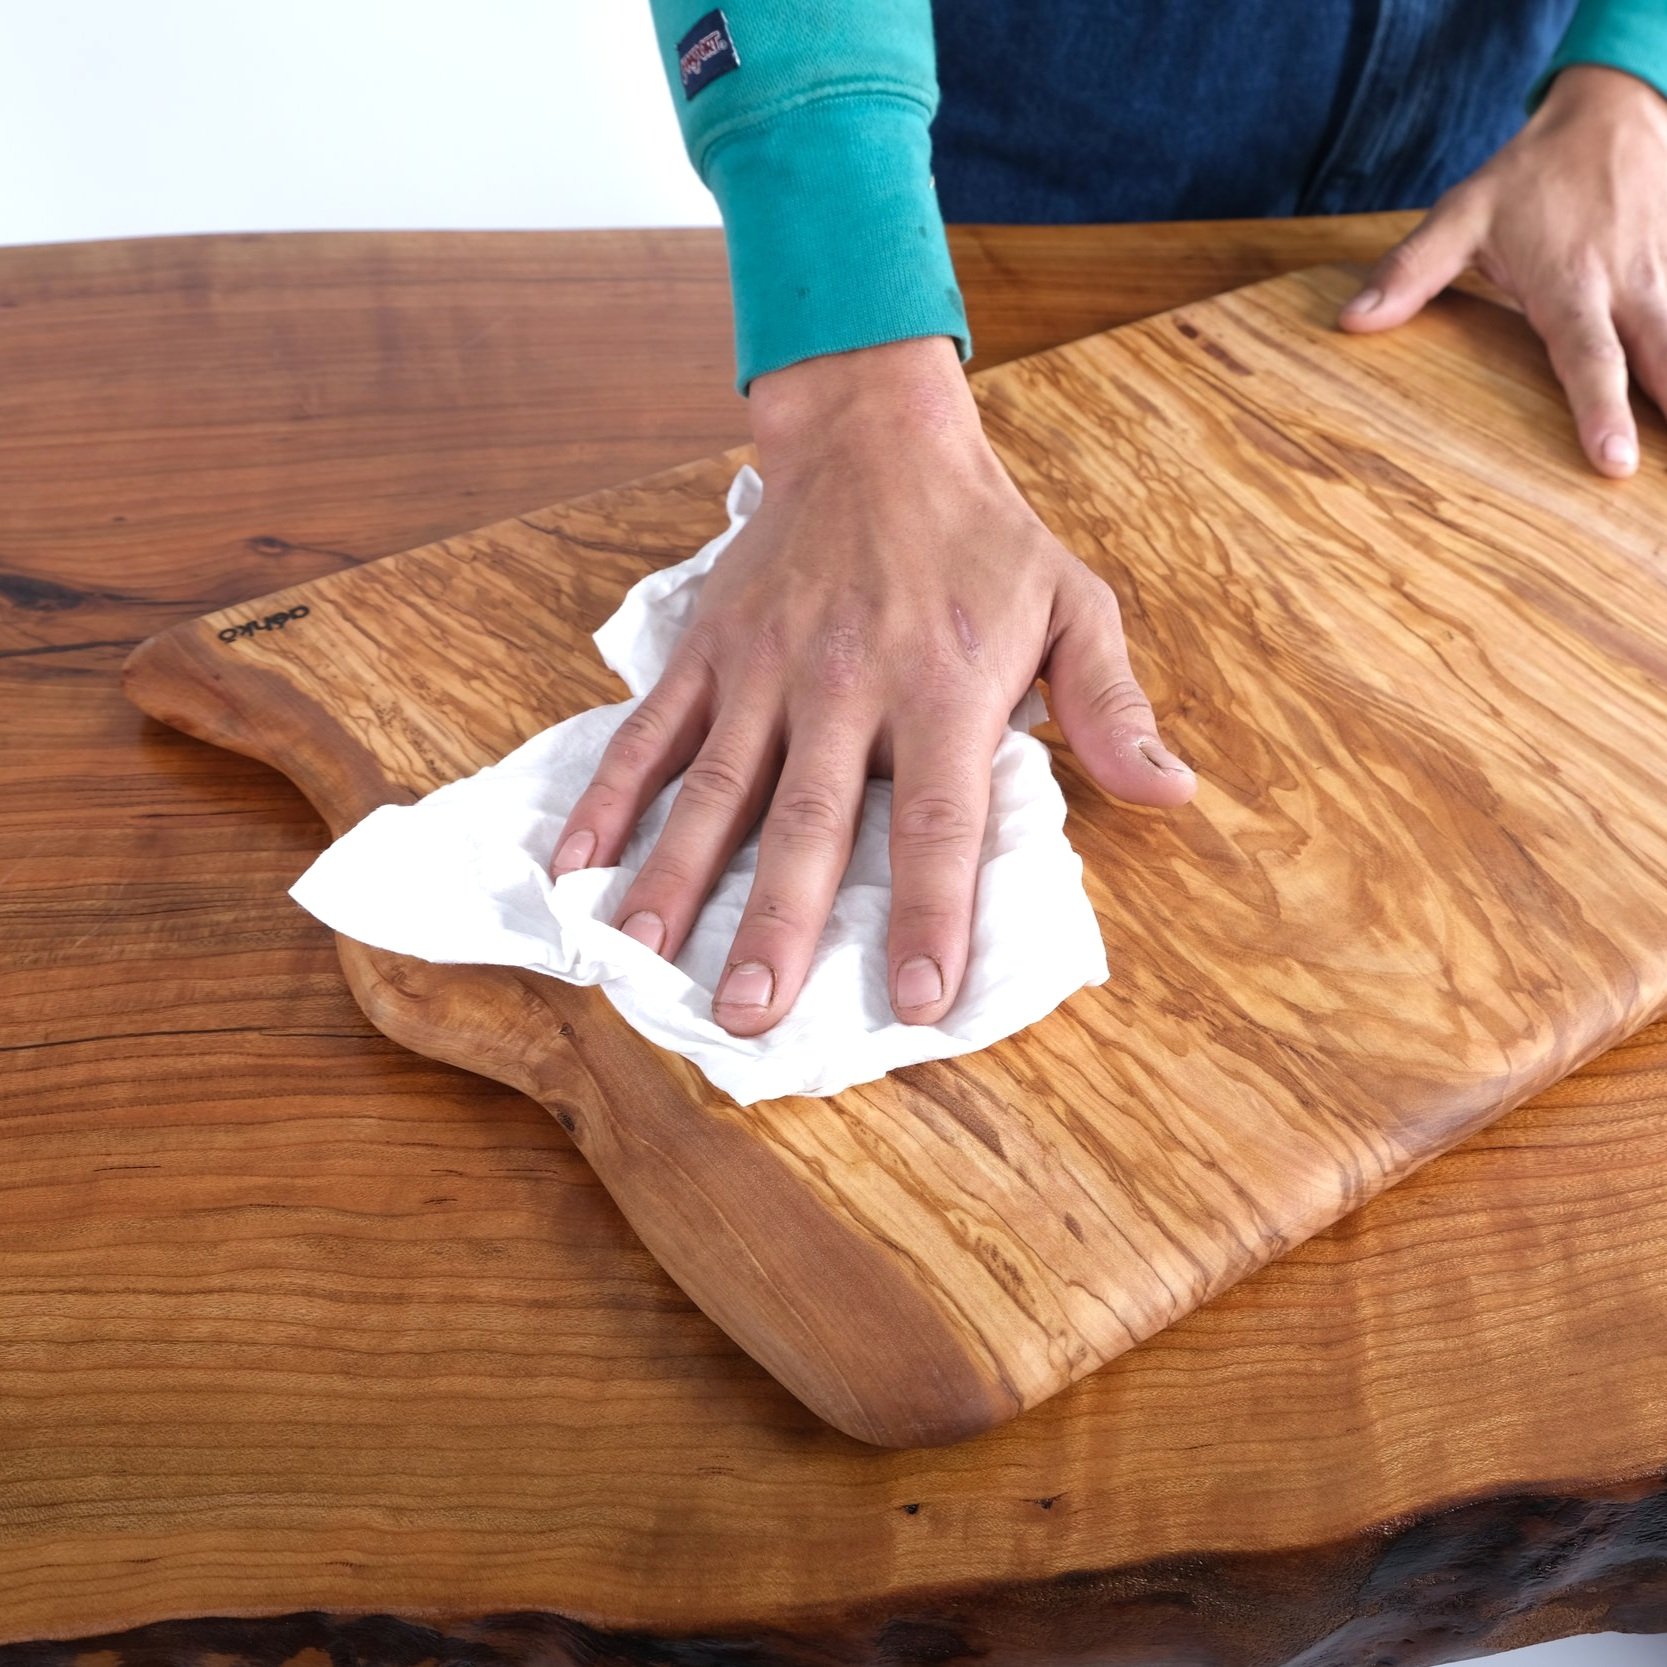
STEP 3: WIPE DOWN ON A REGULAR BASIS
Dust and grime can damage the finish on your furniture over time. Wipe your piece down regularly to keep the finish in peak condition.

STEP 4: RECONDITION EVERY 3-6 MONTHS
Apply a treatment, such as orange oil and beeswax, to restore the luster of your wood furniture. The oil enhances shine, while the beeswax conditions and adds a protective layer against the elements. Recondition regularly to keep the wood from drying out and cracking.

STEP 5: FIX SMALL SCRATCHES
For small, visible scratches on your wood furniture, use a bit of wax in a shade matching the color of the wood. This method works well for light scratches, but do not to over-apply wax or it will stand out on your finish.

— REFINISH AND RESTORE (ADVANCED)
Over time, your wood furniture may accumulate some nicks and scratches, that ruin its finish. In such instances, we recommend sanding the piece down, stripping off the old finish, and applying a new one. Refinishing wood requires patience and an eye for detail; if you have no experience finishing wood, it is best to bring your piece to a local woodworker or get in touch with us. With proper maintenance, your piece won't need refinishing for many years, or even decades.
STEP 1: BUFF DAMAGE WITH SANDPAPER
To refinish your furniture, strip the existing finish and buff out imperfections (without altering the piece's shape) using sandpaper. Start with 80-grit sandpaper for deep scratches, progress to 120-grit, and finish with 220-grit for a polished look. Use a sanding block or an electric orbital sander for quicker sanding.

STEP 2: TREAT WITH OIL AND POLYURETHANE
After sanding your furniture, prepare your preferred finishing mixture. If you do not know what mixture to use, you may lack the experience needed to refinish your piece. Consider taking your furniture to a local woodworker for refinishing to ensure you do not damage it.

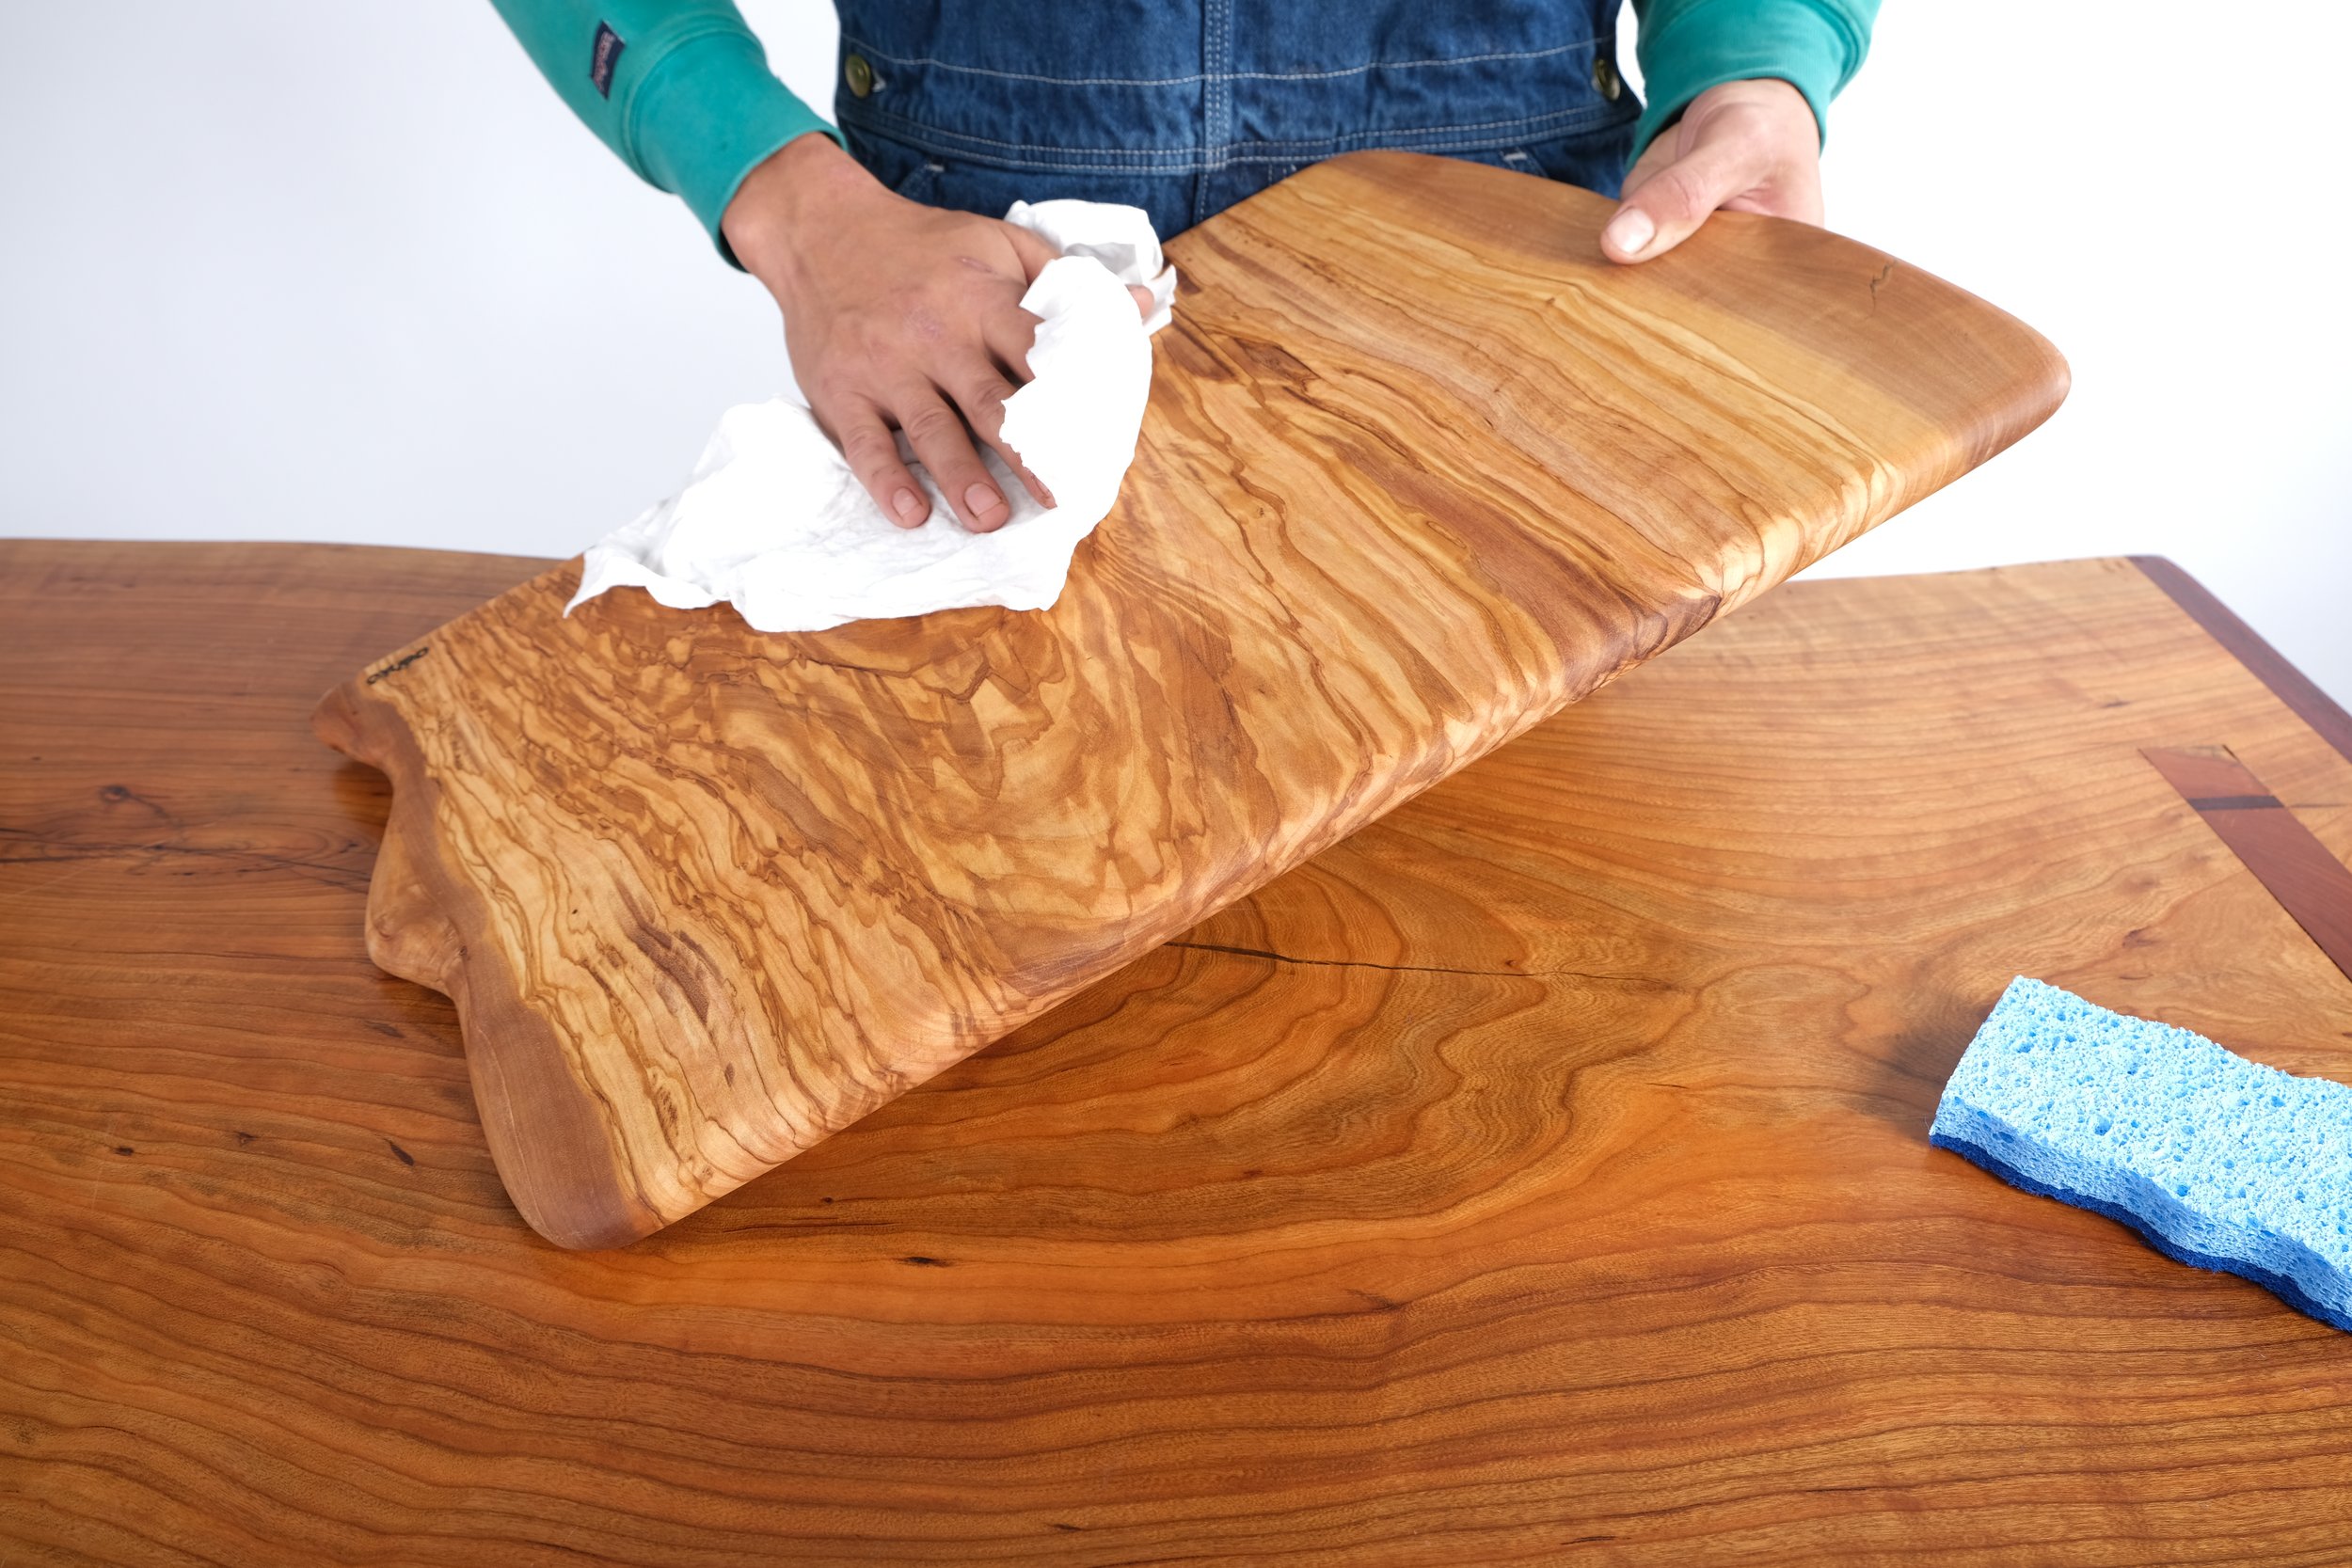
— DAILY CLEANING
Always hand-wash your wood cutting board after use. Never put your board in the dishwasher or submerge it in a sink full of water because it will warp.
STEP 1: SPOT CLEAN BOARD
Use a rubber scraper or spatula to remove anything that has dried to your board. For stubborn marks or odor, scrub the board using half a wedge of lemon and salt.
STEP 2: WASH BOARD
Using a sponge and mild soap, scrub the board under hot water. Make sure to wash both sides of the board to avoid uneven drying.

STEP 3: DRY BOARD
Once your board is rinsed, dry it thoroughly with a clean dish towel and stand it upright to prevent water from pooling and damaging the wood. Leave the board to air dry before storing it.

— DEEP CLEANING, OILING, AND WAXING
If you notice your cutting board looks dull and has lost its luster, it's probably time to recondition it. Reconditioning your board not only enhances its appearance but also seals the wood, protecting it from water and bacteria.
For regularly used cutting boards, we recommend applying a new coat of oil or wax every month.
STEP 1: CLEAN AND DRY BOARD
Clean and dry your board completely before any treatments are applied. Conditioning your board without cleaning and drying it beforehand may trap bacteria and water under the finish.

STEP 2: TREAT BOARD WITH OIL
Once your board is dry, take a clean rag (or paper towel) and apply mineral oil to it. Use the rag to apply an even layer of oil across the entire cutting board surface. Let the oil penetrate the wood overnight, then wipe off any excess the next day. Your cutting board should look hydrated and lustrous again.

STEP 3: TREAT BOARD WITH WAX (OPTIONAL)
After treating your board with oil, you can apply a layer of beeswax for added durability and protection. Adding a layer of wax reduces the need for frequent reconditioning, offering a longer-lasting shield for your cutting board.
*aéhkō cutting boards come with a mineral oil & beeswax balm for easy reconditioning.*

— RESTORING DAMAGED BOARD
If your cutting board shows visible damage like dents, nicks, or scratches, you can sand the board down until the imperfections are gone. After sanding the board, recondition the wood to restore it to a like-new condition.
STEP 1: BUFF DAMAGE WITH SANDPAPER
Use coarse 80-grit sandpaper to eliminate deep scratches from the board. Progressively switch to 120-grit paper and then 220-grit sandpaper for a polished finish. For minimal damage, start with 120-grit sandpaper and finish with 220-grit. Use a sanding block or an electric orbital sander for quicker sanding.

STEP 2: REMOVE PARTICLES WITH RAG OR TOWEL
Once you have finished sanding the board, use a clean, dry rag to wipe away any loose wood particles.
STEP 3: TREAT BOARD WITH OIL AND WAX
Treat your board with mineral oil and beeswax to restore its luster and vibrant finish.

— RESTORATION (ADVANCED)
aéhkō coasters protect your furniture from damage, but may need a little care over time. Restoring them to their original condition is easy – just apply a new, light layer of oil finish. Wood finishing requires a delicate touch, so make sure you have enough experience before moving forward.
STEP 1: LIGHTLY SAND DOWN FINISH
Use 220-grit sandpaper to gently remove the outermost layer of finish and debris from each coaster. Be careful not to press too hard on the sandpaper; you only want to eliminate a very light layer from the surface without exposing any unfinished wood.

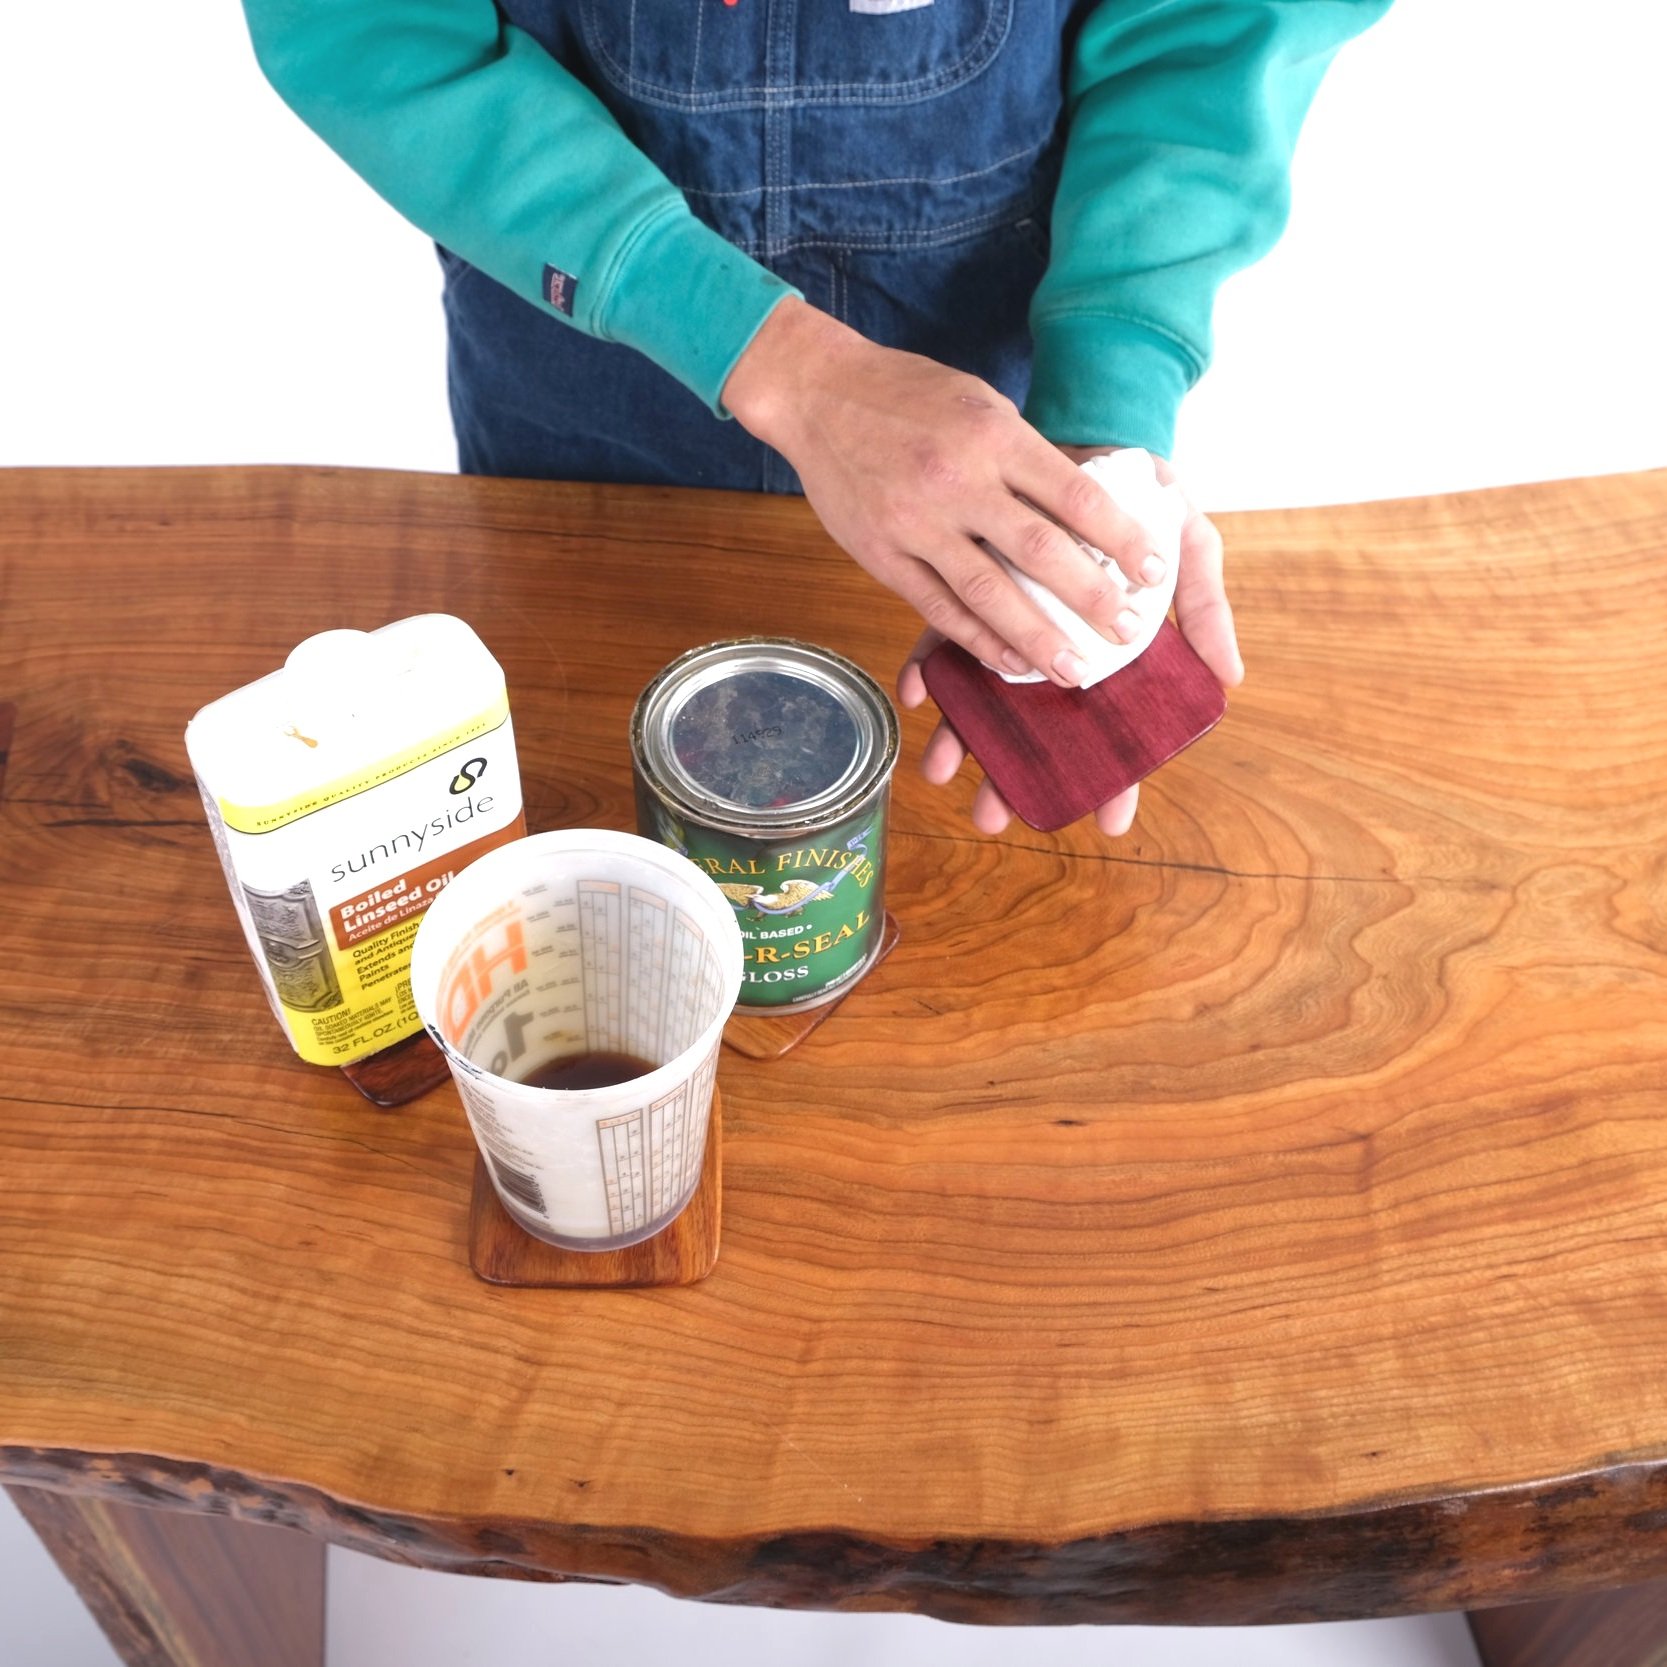
STEP 2: REFINISH WITH OIL AND POLYURETHANE
After sanding the coasters, prepare your preferred finishing oil by mixing oil, oil-based polyurethane, and paint thinner in equal parts. Lightly apply the solution to both sides using a sponge or a rag, following the grain direction of the wood. Take precautions against dust and debris in your workspace, as they can adhere to the coaster's surface and compromise the finish.
STEP 3: LEAVE TO DRY AND CURE
After refinishing the coasters, allow them to dry for at least 24 hours until they achieve a hard, smooth finish. Ensure they dry in an undisturbed location and prop them up on thin pins to dry both sides simultaneously. Avoid laying the coasters directly on a surface during drying, as this may cause them to stick and compromise the finish.
